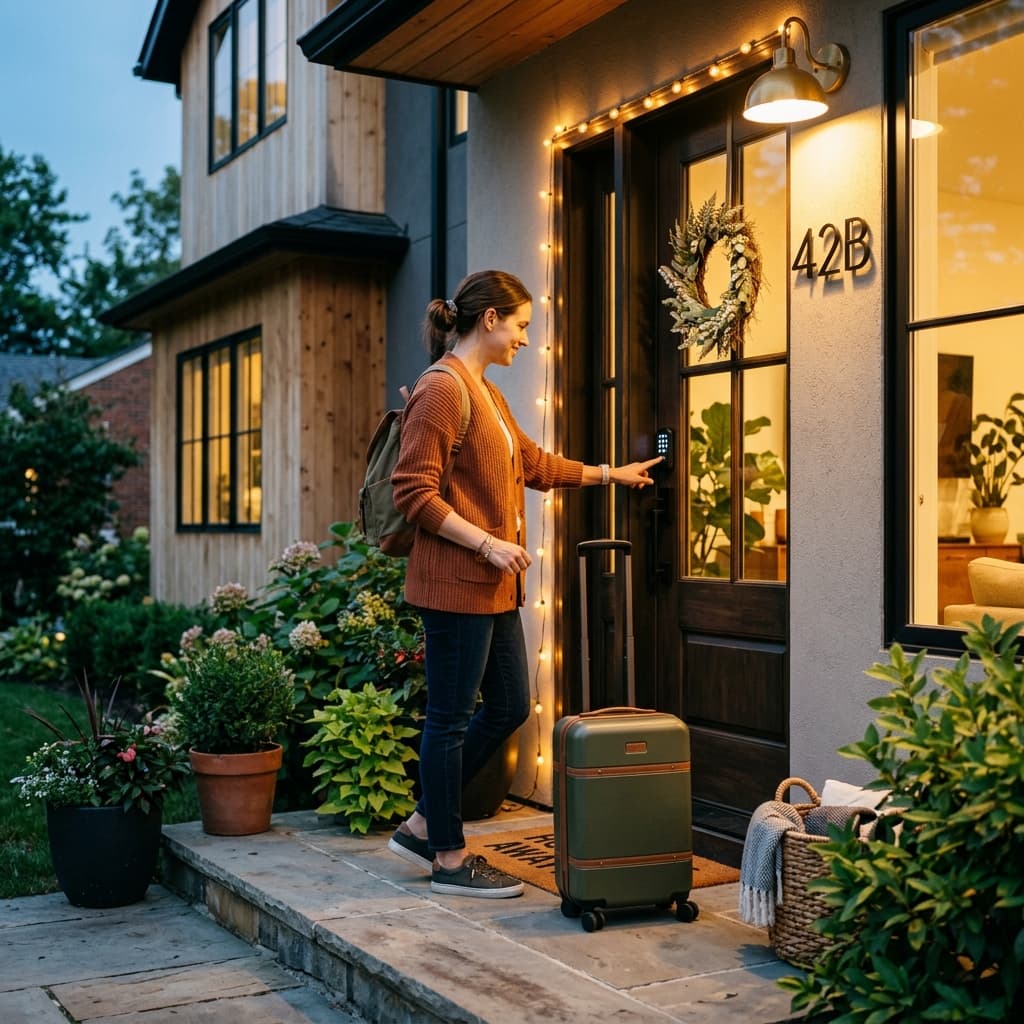
Airbnb self check-in setup.
Self check-in is one of Airbnb's highest-rated amenities. Guests overwhelmingly prefer arriving on their own schedule — and Airbnb reports a 4.95 average check-in rating for listings with connected smart locks. Here's how to set it up properly.
STRKit Editorial
Updated April 2026
Based on editorial research, expert reviews, and host community feedback. How we choose →
Disclosure: We may earn a commission when you buy through our links, at no extra cost to you. As an Amazon Associate, STRKit earns from qualifying purchases.
Why self check-in matters.
Better reviews
Guests rate self check-in listings higher. No waiting, no awkward key handoffs, no late-flight stress.
Remote management
Manage access from anywhere. Issue unique codes for guests, cleaners, and maintenance crews.
Fewer emergencies
Lost keys at 2 AM become a non-issue. Smart locks never lose their codes.
Three ways to do keyless entry.
1. Smart lock (recommended)
Best optionA keypad or touchscreen smart lock on your front door. Guests get a unique code sent automatically before arrival. The code auto-expires after checkout.
Pros
- ✓ Unique codes per reservation
- ✓ Remote code management
- ✓ Access history and arrival alerts
- ✓ Integrates with Airbnb and PMS tools
- ✓ No physical key to lose
Cons
- ✗ $200–$350 upfront
- ✗ Requires battery management
- ✗ Installation needed (15–30 min typical)
Our take: Yale Assure Lock 2 (best overall) or Schlage Encode Plus (best premium)
See our smart lock picks2. Lockbox with physical key
Budget optionA combination lockbox mounted near your door holds a physical key. You share the lockbox code with guests. Simple and cheap, but less secure and less convenient.
Pros
- ✓ $15–$30 total cost
- ✓ No installation or Wi-Fi needed
- ✓ Works on any door
Cons
- ✗ Same code for every guest (security risk)
- ✗ Keys can be copied
- ✗ No access history
- ✗ Looks less professional
Our take: Use only as a backup or for budget listings. Upgrade to a smart lock as soon as feasible.
3. Smart lock + lockbox backup
Best practiceThe gold standard setup: smart lock as primary entry, with a physical key lockbox hidden nearby as a failsafe. If the smart lock battery dies or the guest can't figure out the code, they have a backup.
Pros
- ✓ Best of both worlds
- ✓ Eliminates lockout risk
- ✓ Professional and reliable
Cons
- ✗ Slightly higher upfront cost ($230–$380)
- ✗ Two things to maintain
Our take: This is what we recommend for every listing.
Step-by-step setup checklist.
Choose and install your smart lock
Pick a lock that fits your door prep and smart home ecosystem. Most smart locks retrofit onto existing deadbolts in 15-30 minutes with a screwdriver. No locksmith needed.
Connect to WiFi and set up the app
Follow the manufacturer's app to connect the lock to your WiFi network. Test remote access — lock and unlock it from your phone to confirm connectivity.
Enable auto-code generation
Connect your lock to your PMS (OwnerRez, Hospitable, etc.) or directly to Airbnb. Configure automatic guest code creation and sharing via check-in instructions.
Create permanent codes for your team
Set up recurring codes for your cleaning crew and maintenance contacts. Some hosts rotate cleaner codes monthly for security.
Write your check-in instructions
In your Airbnb listing, go to Listing → Arrival Guide → Check-in. Add step-by-step instructions with the code delivery method. Include a photo of the lock keypad if possible.
Set up a backup entry method
Install a lockbox with a physical key as a failsafe. Hide it nearby but not obviously. Include backup instructions in your house manual.
Send a pre-arrival message
Automate a message 24 hours before check-in with: the door code, WiFi password, parking instructions, and house manual link. Most PMS tools handle this.
Create a battery maintenance schedule
Smart locks run on AA or CR123A batteries. Set a calendar reminder to check every 6 months. Most locks alert you at 20% battery — keep spares in your turnover closet.
Guest messaging template.
Pre-arrival message (send 24h before check-in)
Hi [Guest Name]! 👋
We're excited to host you. Here's everything you need for a smooth arrival:
🔑 Door Code: [AUTO-GENERATED CODE]
Enter the code on the keypad and press the checkmark.
📶 WiFi: Network: [PropertyName-Guest]
Password: [password]
🅿️ Parking: [Parking instructions]
📖 House Manual: [Link to your house manual]
If you have any issues at all, text me at [your number]. Enjoy your stay!
Common mistakes to avoid.
✗ Using the same code for every guest
✓ Use auto-generated unique codes that expire on checkout. Most PMS tools do this automatically.
✗ No backup entry method
✓ Always have a lockbox with a physical key as a failsafe. Smart locks can fail (dead battery, WiFi outage).
✗ Forgetting battery maintenance
✓ Check batteries every 6 months. Keep spares in your turnover closet. Replace at 20% — don't wait for failure.
✗ Unclear check-in instructions
✓ Include a photo of the lock keypad. Write step-by-step instructions. Test with a friend who hasn't seen the property.
✗ Not testing after install
✓ Lock and unlock remotely from your phone. Have someone test the guest code at the door. Verify arrival notifications work.
✗ Ignoring local regulations
✓ Some municipalities and HOAs restrict lock modifications. Verify before installing. Most smart locks are retrofits — no structural changes.